**Wordpress Blog Setup Tutorial For Beginners**
Blog Setup Tutorial: 3 Basic Steps to Getting Your WordPress Blog Setup..
Helping You Setup A WordPress Blog From Scratch.
Step 1: Register Your Domain Name & Setup Website Hosting Account
Step 2: Install WordPress On Your Domain
Step 3: Blogging Tools -Design Your Blog Using Themes & Plugins
Step 2: Install WordPress
In Step 1, I explained step-by-step how to setup your domain name & hosting account. To see those instructions go here.
What is WordPress?
WordPress is a content management system. It is the most robust and flexible blogging platform system on the web.
In the email receipt that your hosting service provider (Hostgator) sent you, they should have included the information to log into your cpanel area to download WordPress. You access your cpanel with the link provided by your hosting provider (Hostgator), example: www.yoursitename.com/cpanel
***Note: for this Blog Setup Tutorial,,, I give you instructions using Hostgator as hosting service provider.
Login with your username & password that you created during the setup process with Hostgator.
In your cpanel area:
- Scroll down to “Software Services”, click on “Quick Install”.
- Under “Blog Software”, click on “Wordpress”.
- Select “Continue”
- Select the domain name that you want wordpress installed
- Follow the prompts…..Fill out the admin, user name and password information
- Click “Install Now” (this should only take a few minutes)
- Once the wordpress installation is complete, you will be provided with the username & password to log into the wordpress admin dashboard. (www.yoursite.com/wp-admin)
Note: Hostgator technical department can do a “Quick WordPress Install” for you. Contact them at 1-866-96- GATOR (42867).
WordPress is now installed and you are ready to start publishing content to your blog.
WordPress Dashboard or Admin panel
What is WordPress Dashboard?
Your WordPress dashboard is your main login area for your blog. It is where you will control all of the settings to your WordPress blog such as updates and changes. (what people will see on the front end of your blog)
Log into your WordPress dashboard using the information you received after the wordpress installation was completed. Example: www.yoursitename.com/wp-admin. You should also have your username and password included in the email from Hostgator.
WordPress Terms and Navigation of Your WordPress Dashboard
Dashboard
- The Dashboard is where you can get a quick view of what’s happening with your site. You can view your stats, recent comments, updates, WordPress news and more. The 1st screen you see when you log into the admin area.
Posts
- Post are the article entries that display in reverse chronological order on your blog home page or on the post page, depending on your setting in Settings –>Reading. You can display how many post to display at a time on your blog page.
Media
- Your media libary is where your images and photos are stored. Upload images to insert into your blog post and on your pages. Edit your images by right clicking, then following the prompt to resize and make changes.
Pages
- Pages are static and not listed by date. Page unlike post, will remain the same until you edit or make changes. A few of the main pages you will need for your blog are…. “Home”, “About”, “Contact”, “Product/Service”, “Testimonial”.
Appearance
- Themes -go here to find a new theme design for your blog
- Widgets -allows you to arrange elements on your blog
- Menus -this is your sites navigation. Set menu for visitors to navigate easier around site
- Editor -this is the area where your style script and css coding that reads your site. (If you are not familiar with coding, I highly recommend that you do not make any changes to this area. The theme publisher has already pre-set codes to make your theme function properly).
Plugins
- Plugins are scripts that can greatly enhance your blog. It adds more features and additional functionality to your site. Too many plugins can slow down your site loading time. Try to only use the main recommend plugins that will protect your site and add a few nice bells & whistles.
Users
- Add your profile information under “Your profile” and also where you can add users to access your site.
Tools
- You have the options to import and export files to and from your computer. Always do a backup 1st.
Settings
- After your WordPress install is complete, this is the 1st place to go. Go through each settings option listed under the Settings bar. This is where you control how your comments will appear on your site, whether you want your blog post to appear on front page or redirect to blog page that your create, etc.
Note: Always do a backup of your files before making any changes.
Next Step: Blogging Tools -Designing your Website using Themes & Plugins.
Step 3: Click Here For Blogging Tools
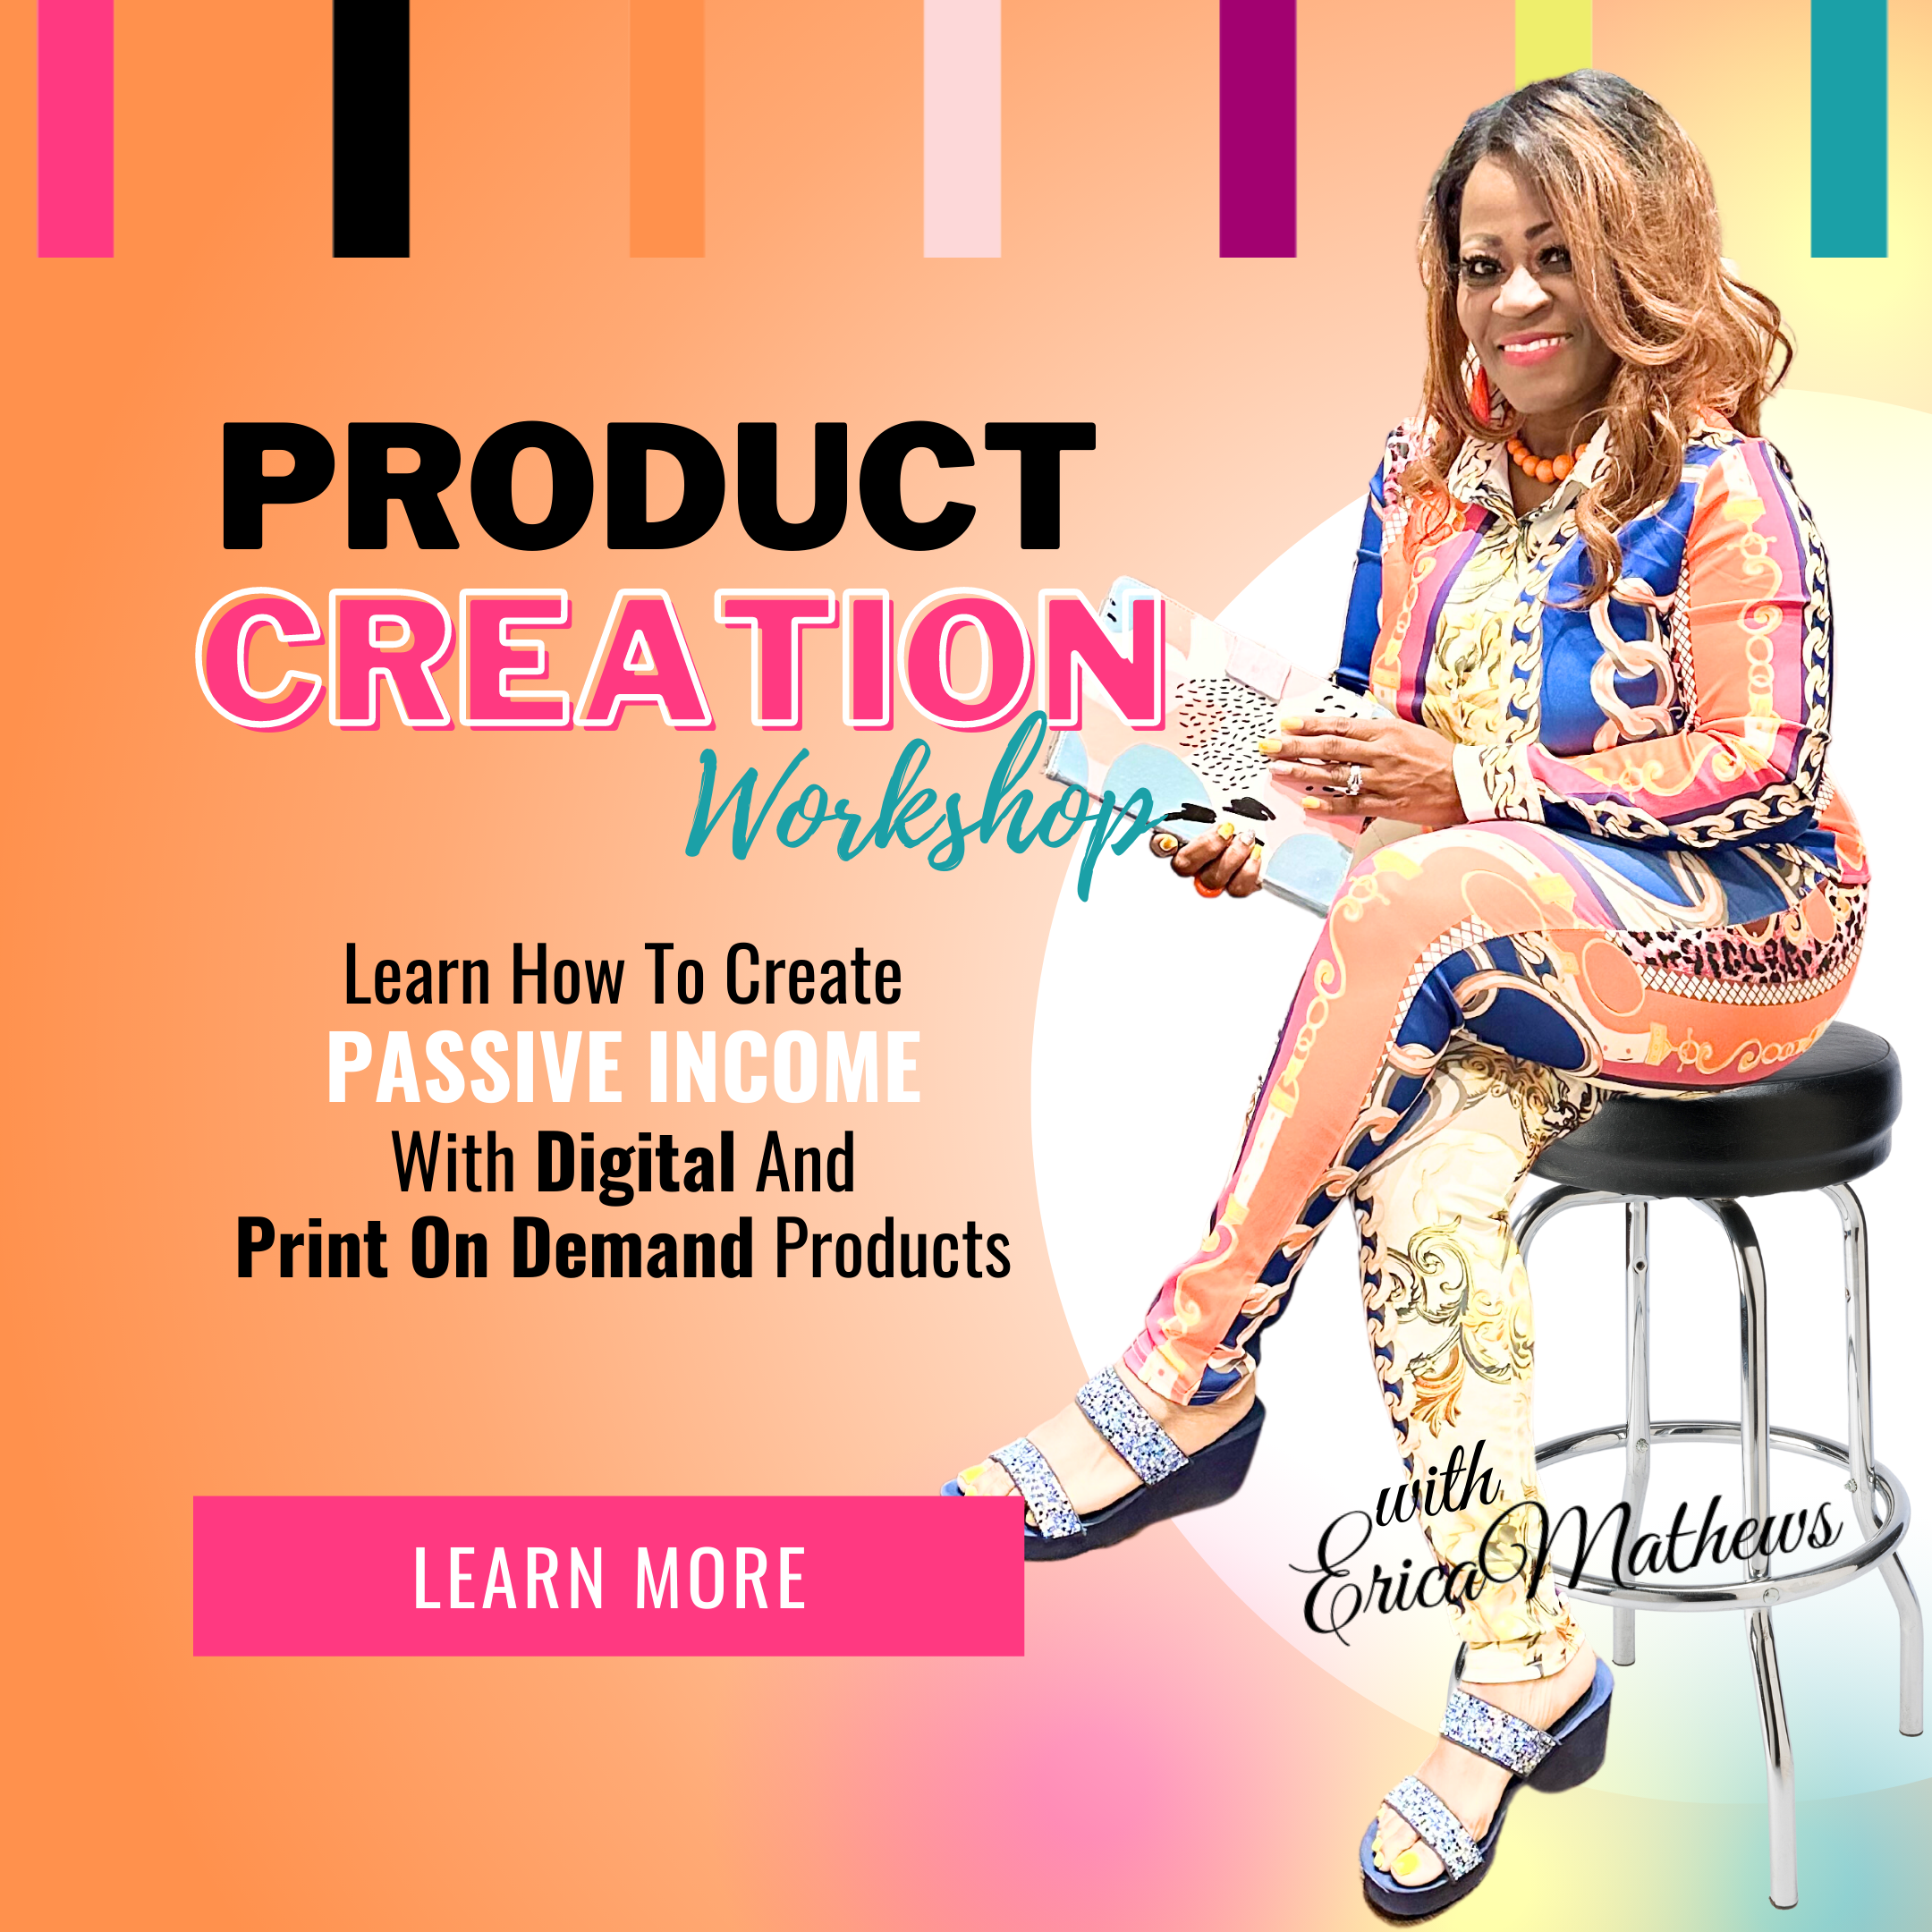
Erica Mathews
Latest posts by Erica Mathews (see all)
- SoFi Bank Referral Program - December 27, 2023
- 4 Types Of Income You Can Generate - August 12, 2023
- Affirmations For Your Business [VIDEO] - September 27, 2022